A beautiful property is not automatically a wedding-ready venue. A paddock, garden, private home, winery lawn, or coastal site may have the view, but the guest experience depends on what happens underneath and behind the scenes. This outdoor wedding infrastructure guide helps you plan the systems that keep people comfortable, suppliers moving, and the celebration running on time.
The smartest approach is to plan the site as a working event space, not just a ceremony backdrop. Start with the guest journey, then build the infrastructure around it: arrival, ceremony, drinks, dinner, dancing, and departure. That process avoids the common last-minute scramble for power, weather cover, pathways, or restrooms.
Start With the Site, Not the Hire List
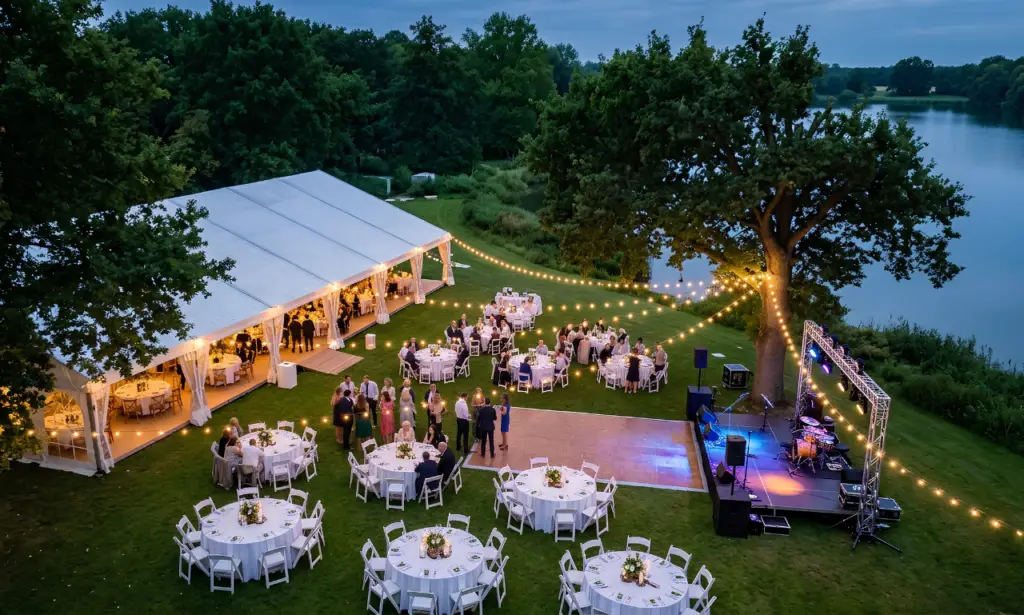
Before choosing chairs, florals, or table settings, inspect the site with your venue contact, planner, caterer, and key suppliers if possible. Measure usable areas rather than estimating from photos. A lawn may look generous until a marquee, catering tent, dance floor, generator, restroom trailer, and vehicle access route are accounted for.
Pay close attention to ground conditions. Is the surface level enough for dining tables? Does it become soft after rain? Is there a slope that affects guest seating, staging, or accessibility? A site can be workable with the right flooring, leveling approach, or structure, but those decisions need to happen early.
Access matters just as much. Hire equipment arrives on trucks, and some pieces are heavy or long. Confirm gate widths, driveway load limits, turning space, overhead branches, and the distance from unloading point to setup area. If the ceremony is 300 yards from the road, crews may need extra labor, carts, or a different delivery plan. That affects timing and cost, but it is far easier to solve before the week of the wedding.
Also ask what the property allows. Many private and rural venues have restrictions on staking into the ground, amplified sound, generator placement, open flames, vehicle movement, or late-night pack-down. Put those constraints into the event plan rather than treating them as small details.
Build Shelter for the Weather You May Actually Get
Outdoor weddings need a weather plan that is ready to use, not a vague promise to move things inside. The right structure depends on guest count, season, site exposure, meal style, and how much of the event needs protection.
A canopy or clear-top structure can preserve the outdoor feel while giving guests cover from rain or harsh sun. A fully enclosed tent provides more control when wind, cold, or rain is likely, especially for a seated dinner. Sidewalls can be added or removed as conditions change, but they also affect airflow, temperature, and the amount of heating required.
Do not size the structure only for seated guests. Include room for a dance floor, band or DJ, bar, catering service, gift table, accessible circulation, and the inevitable gathering points near the entrances. A cramped tent makes a carefully planned wedding feel disorganized.
Weather protection also needs to cover operational areas. Caterers need a dry, stable workspace. Musicians and AV equipment need cover. If restrooms are offsite from the main tent, guests need a lit route that stays usable in wet conditions. Small covered service zones can protect the whole schedule.
For cold-weather events, heating should be planned alongside the tent layout. Heaters need safe clearances, fuel management, ventilation, and placement that does not block guests or service routes. For hot days, prioritize shade, airflow, water stations, and enough open access points. A structure that traps heat can be worse than no structure at all.
Plan Power From the Load Up
Power is where an outdoor celebration becomes a production site. The house outlet that runs a few string lights is rarely enough for catering, refrigeration, bar equipment, lighting, sound, band gear, and heating. Overloading an existing circuit can trip power in the middle of speeches or take down catering equipment during dinner service.
List every item that needs electricity, including the items supplied by outside vendors. Caterers may require ovens, hot boxes, refrigeration, coffee equipment, and dishwashing. Entertainment may need separate clean power for sound and instruments. Add decorative lighting, restroom trailers, pumps, signage, and charging stations if they are part of the plan.
A proper load calculation identifies the expected demand, startup load, circuit allocation, cable runs, and generator size. It also allows for sensible headroom. Generator capacity is not about hiring the largest unit available. An oversized unit can be inefficient and an undersized one creates real show-day risk.
Place generators where crews can access them safely, with ventilation, weather protection where required, and enough distance to limit noise near guests. Then plan cable routes. Cables should not cross walkways without appropriate covers, and they should never create a trip hazard in dark areas. A tidy power plan is safer, more reliable, and less visible in photographs.
Use Flooring and Paths to Control the Guest Experience
Guests remember whether they felt looked after. Stable flooring is one of the clearest ways to make an outdoor site feel intentional. It protects heels from sinking into grass, reduces mud after rain, gives tables a level base, and makes it easier for guests with mobility needs to move through the event.
A dance floor does more than create a place to dance. It defines the reception layout and provides a firm surface when the lawn is uneven. Temporary flooring may also be needed under dining areas, bars, ceremony seating, entrances, or high-traffic pathways. The best solution depends on the surface and the forecast. A dry, compact lawn may only need a few key routes, while a wet or soft site may need broader coverage.
Think through every transition. Guests should be able to get from parking to ceremony, ceremony to drinks, and dinner to restrooms without crossing rough ground in the dark. If shuttle drop-off is part of the plan, provide a clear arrival point with lighting and weather cover.
Accessibility should be designed in from the start. Reserve practical routes for wheelchair users, parents with strollers, older family members, and guests in formal footwear. Avoid locating essential facilities up steep slopes or across loose gravel. A beautiful site should not require guests to struggle to use it.
Make Lighting Do More Than Look Good
Lighting has two jobs: atmosphere and safe movement. Decorative festoon lights, chandeliers, uplighting, and table lamps create warmth after sunset, but functional lighting gets guests where they need to go.
Light parking areas, steps, uneven paths, restroom routes, service entrances, and exit points. Keep cable runs and equipment visible to staff without flooding the dining area with harsh light. If the event runs past sunset, walk the site at night before the wedding. What looks obvious at 4 p.m. can disappear completely after dark.
Coordinate lighting with the photographer and entertainment team. Strong backlighting can affect portraits and speeches, while poorly placed lights can create glare for guests. A simple lighting layout with clear zones will work better than adding fixtures at random once the sun goes down.
Put Restrooms, Waste, and Service Areas in the Right Place
If the venue does not have enough permanent restrooms, portable units or restroom trailers are part of the core infrastructure. Choose the quantity based on guest count, event duration, alcohol service, and whether the location is remote. Position them close enough to be convenient but screened from the main social areas.
Restroom access needs lighting, level footing, and a clear route. Premium restroom trailers may also require power and water considerations, so they must be included in the site and electrical plan rather than booked independently at the end.
Set aside a genuine back-of-house area for catering, storage, waste, staff breaks, and equipment cases. Guests should not see stacks of empty beverage cartons or catering crates beside the dance floor. More importantly, suppliers need room to work without blocking exits and guest pathways.
Waste management deserves the same attention. Plan bins for general waste, recycling, food waste where available, and glass. Confirm collection timing if the event is in a public space or on a property where post-event waste cannot remain overnight.
Outdoor Wedding Infrastructure Guide: Set Responsibilities Early
The smoothest outdoor weddings have one written site plan and a clear chain of responsibility. It should show structures, furniture, staging, power, lighting, restrooms, access routes, parking, back-of-house areas, and emergency access. Every supplier should be working from the same version.
Confirm who is responsible for permits, venue approvals, weather monitoring, generator fuel, fire safety equipment, security, bump-in timing, and post-event collection. Some events also require engineering documentation, occupancy considerations, noise controls, or local authority approvals. Requirements vary by location and scale, so ask early rather than assuming a private property has no rules.
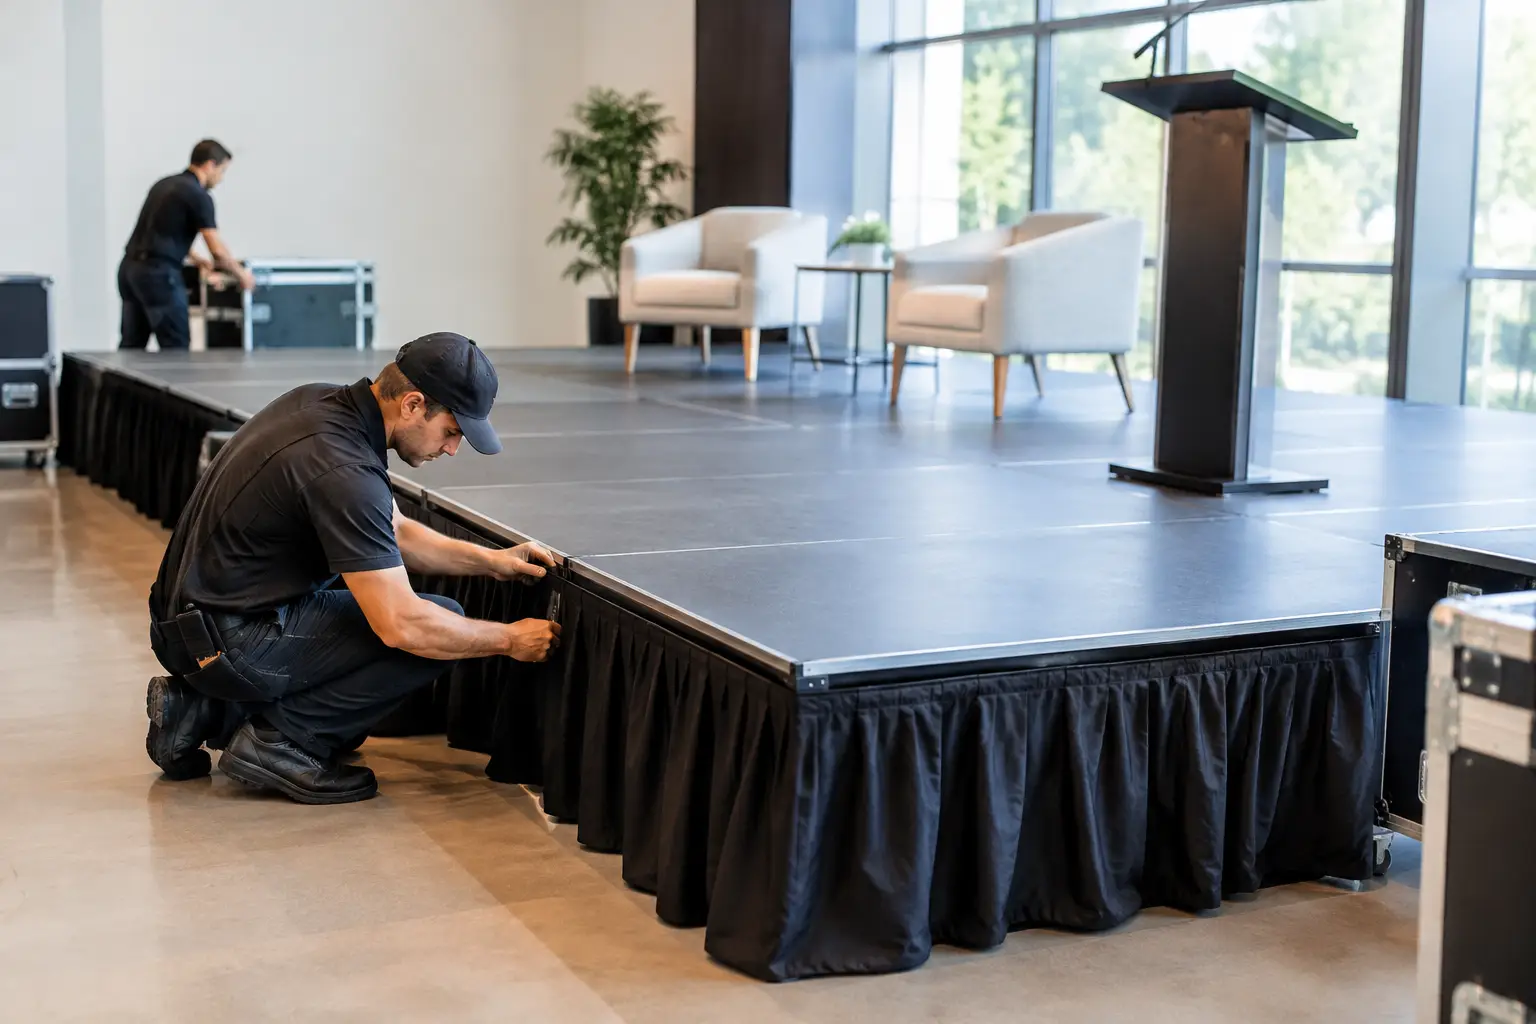
A coordinated hire and production team can reduce handoffs between suppliers. Zero Three Party & Event Hire can combine guest-facing items such as furniture, structures, heating, and lighting with event-critical requirements including staging, power, and technical coordination. One delivery schedule and one site plan make it easier to spot conflicts before trucks arrive.
Give your suppliers a final site walkthrough and lock the plan before setup begins. Then keep a small weather and contingency kit on hand: umbrellas, towels, signage, spare cable covers, floor mats, and a way to communicate updates to the wedding party. The best outdoor wedding infrastructure does not compete with the celebration. It quietly gives everyone the confidence to enjoy it, whatever the forecast decides to do.